
I absolutely love chicken. Fried, baked, braised, stewed. Hot or cold. Breaded or not. It's all good.
So when I got some boneless, skinless chicken breasts from
Frontiere Natural Meats, I had a whole lot of options, But I decided that chicken-fried chicken needed to be made.
If that name sounds confusing, chicken-fried chicken is a riff off of chicken-fried steak. Which is a riff off of fried chicken.
But chicken-fried chicken isn't just chicken. It's flattened and then breaded (or battered or crumbed) and then fried.
Since the chicken pieces are an even thickness and they're also thin, they cook quickly and evenly, So there's less risk of having the chicken dry out.
Although these are fried, you can use a healthy oil, like olive oil, and you don't need a lot of oil.
When it comes to coatings, you have endless options. I like the idea of double-dipping the chicken - first in flour, then in eggs, and then one more dip. Flour is one option for that second coating, but you can also get more creative. Bread crumbs are nice, but my favorite coating is potato chips.

Have you ever bought a new brand of chips and then thought they were too salty, or the flavor was a little too in-your-face for snacking? Those are perfect for crusting this chicken-fried chicken.
If you don't like potato chips, the process is the same whether you're using cornflakes, bread crumbs, or any other crust-worthy crunchy stuff.
This is also the perfect way to use up the last bits from a variety of chips and crumbs, mixing them together. Or use seasoned flour. Have fun with it!
Because the chicken is pounded thin, it looks a lot bigger than it really is, and because it's an even thickness, it makes really pretty slices. And those slices are nice for topping salads or for tacos. Its also great served with a gravy - I suggest a mushroom cream gravy, if you're looking for something particularly decadent.
And then one flattened chicken breast is enough for two.
Of course, it depends on the size of that chicken breast, but the ones from Frontiere were a nice size for two, along with some sides.
Chicken Fried Chicken

1 boneless skinless chicken breast
1/4 cup (seasoned or plain) flour, or more, as needed
1 egg, beaten with a splash of water, in a shallow bowl
2 tablespoons olive oil (or as needed)
1/4 cup second coating of your choice
First, choose what you'll use for your second coating. If you're using potato chips or similar products, crush them to fine crumbs.
If you don't have potato chips or other products to make crunchy crumbs, use flour. For more flavor, season the flour with with salt, pepper, and your favorite herb mix.
Put the chicken breast in a plastic bag, and use a meat mallet, a small frying pan or other suitable item to flatten it to an even thickness. You're looking for about 1/4 inch, but you want to stop smacking before the chicken starts to shred, fall apart, or get holes in it. Thickness is a personal preference - a thinner piece will cook faster, while a thicker one will take a little longer. But either way, it's fine.
Sprinkle in the flour. You're looking to coat the chicken evenly. If you need a little more flour, add it. Take the chicken out of the bag and shake off the extra flour.
Dip the chicken in the egg, coating both sides. and let the excess drip off.
Coat the chicken with your chosen crunchy breading, pressing it onto the chicken to make sure it sticks. Let the chicken rest on a rack while you heat the oil in a heavy frying pan on medium heat.
When the oil is hot, cook the chicken on one side until the coating is golden brown, then flip and cook on the second side. Continue cooking, turning as needed, until the chicken is cooked through and the crust is golden brown. How long it will take depends on how thick the chicken is and how hot the frying pan is, but it's just a matter of minutes.
Let the chicken rest if you plan on slicing it for serving.
Serve hot, warm, at room temperature, or ... yes, it's good chilled, too.
Disclaimer: I receive meat products from Frontiere Natural Meats for the purpose of creating recipes for my blog.
 A while ago, my friends at Blue Chair Bay Rum sent me a recipe for a cocktail that sounded interesting. The more I thought about it, though, the more I wanted to change things.
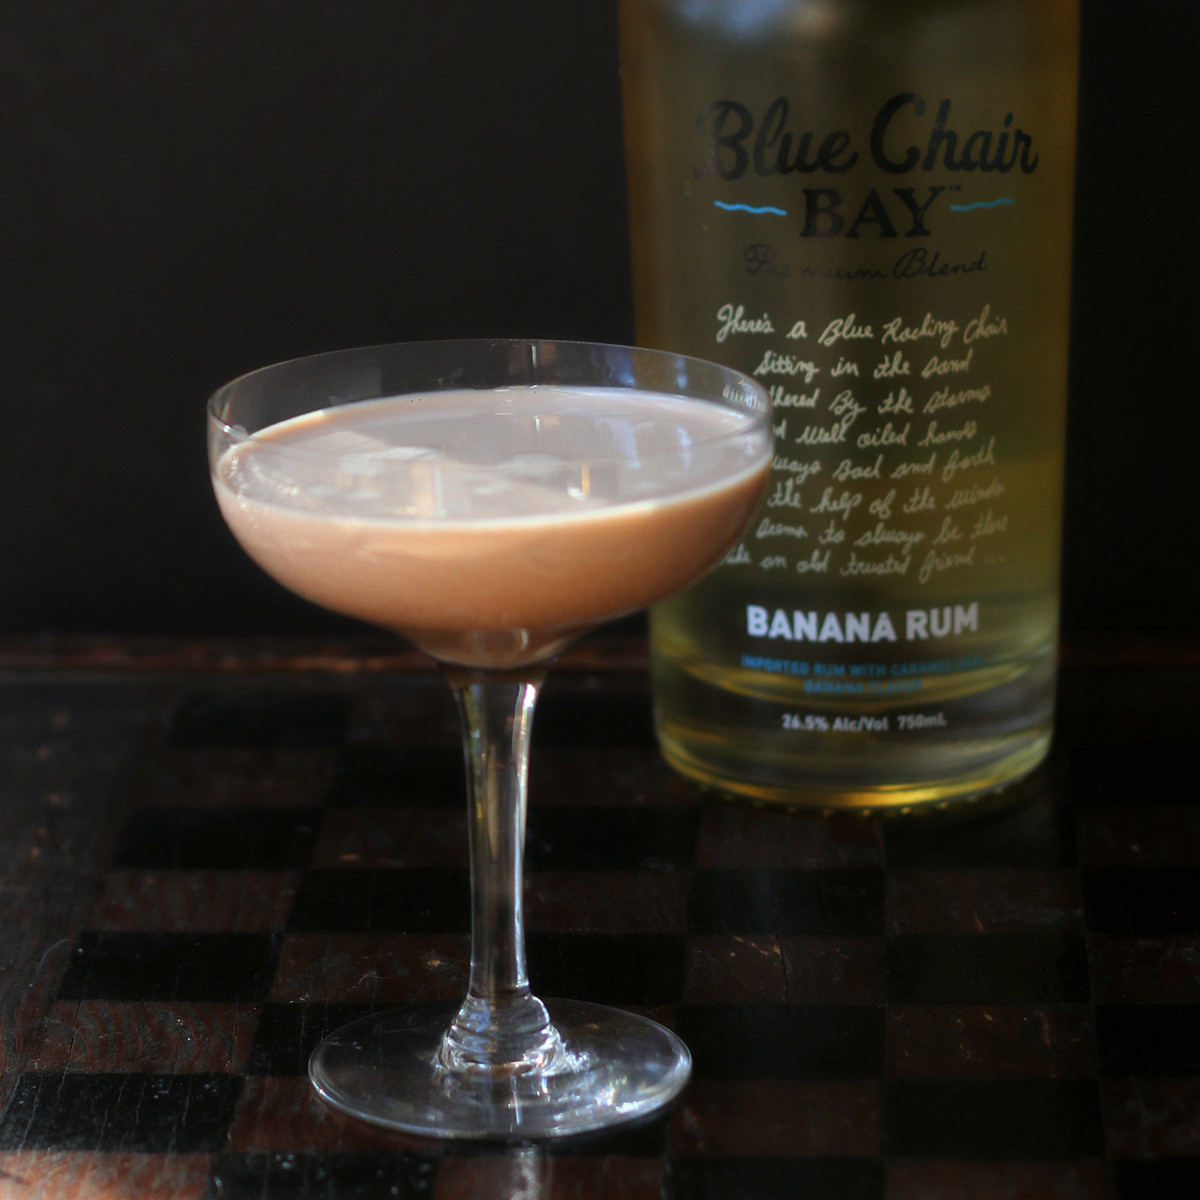 Choconanatini
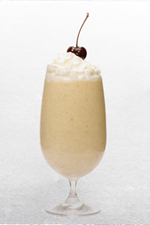 PB&B
PB&B


 , add 1 teaspoon of salt now. Otherwise, wait to season until later. Bring to a boil, then lower to a simmer. Cook, covered, until the potatoes are falling-apart tender.
 , see
, see 


 . So when I was offered an early release copy of the book, I was pretty excited.


 .
.


 with
with  and heat the oven to 350 degrees. Flour your work surface and turn out the dough. Knead briefly, then form the dough into a tight log about 8 inches long, to fit into the bread pan. Cover the pan and set aside to rise until the dough rises slightly above the top of the bread pan - about 30 minutes.


 by Barbara Feldman Morse, I was curious how many variations I'd find.
 by Barbara Feldman Morse


 Incredible, Delicious and New Recipes from a Unique,